此处使用了CentOS环境,但是也会补充Ubuntu上的操作(但未经过实践)
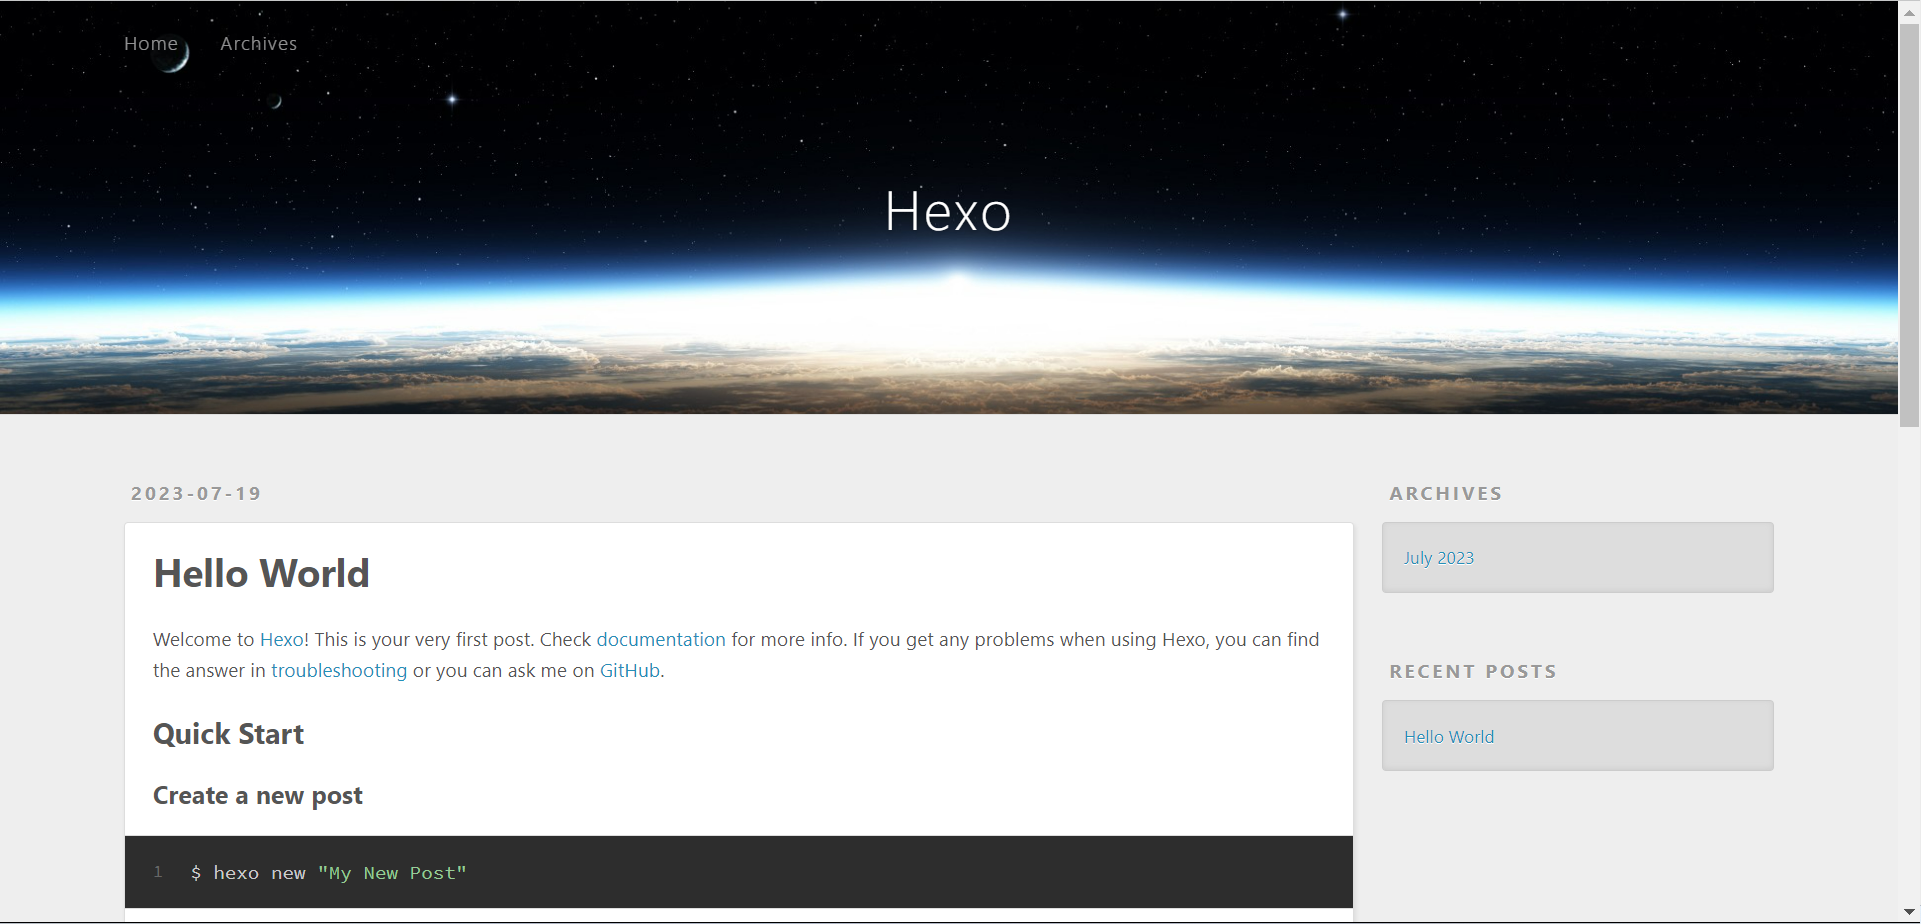
Hexo#
Hexo是一个快速、简洁且高效的博客框架,Hexo使用Markdown解析文章,可以实现实时渲染的效果。 Hexo是使用Node.js(npm)安装的,所以我们首先需要先安装以下程序: — Node.js(不低于10.13,建议安装12.0以上版本)
安装Node.js#
CentOS
yum -y install nodejs
yum -y install npmUbuntu
apt-get update
apt-get install -y nodejs
apt-get install -y npm在安装Node.js之后我们将其默认的官方源,换成国内淘宝源,这样可以使我们在之后安装时速度更快
npm config set registry=http://registry.npm.taobao.org/安装Hexo#
使用以下命令进行安装Hexo
npm install -g hexo-cli到此,我们只是安装了,但是还没有创建网站相关的目录,所以需要先创建一个工作目录(我是直接在/root下创建)
# cd /root
hexo init blogblog可以换成自己喜欢的文件名称,然后进入这个目录内,执行以下命令,进行安装相关的模块
npm install到此为止,基本已经完成,我们通过以下命令运行hexo,然后通过ip+4000端口(默认配置)来访问
hexo server
补充:Hexo中常用的命令还有以下
# 清除缓存文件(在每次修改之后运行之前建议执行一次,避免不必要的问题)
hexo clean

# 生成文件
hexo generate -> hexo g

# 运行
hexo server -> hexo s

# 其余可以通过hexo help进行查看创建文章#
我们在此创建三个测试文章(并在文章中随意填入内容),用于后面主题修改时使用,首先我们先来学习一下hexo创建文章的命令
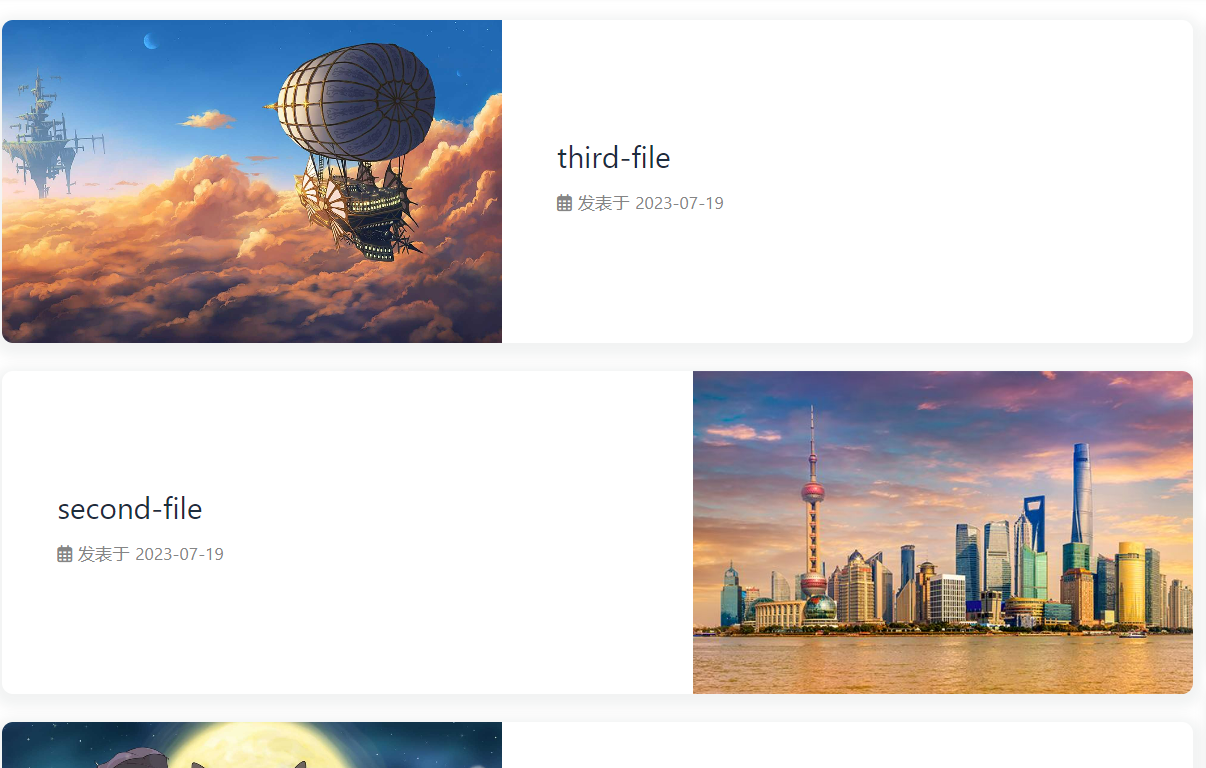
hexo new "first-file"
hexo new "second-file"
hexo new "third-file"布局 - Layout#
post#
hexo默认为post,即文章,使用方式为
hexo new <article name>新建的文章会存放到source/_posts目录下
| 写法 | 说明 |
|---|---|
| title | 【必需】文章标题 |
| date | 【必需】文章创建日期 |
| updated | 【可选】文章更新日期 |
| tags | 【可选】文章标籤 |
| categories | 【可选】文章分类 |
| keywords | 【可选】文章关键字 |
| description | 【可选】文章描述 |
| top_img | 【可选】文章顶部图片 |
| cover | 【可选】文章缩略图(如果没有设置top_img,文章页顶部将显示缩略图,可设为false/图片地址/留空) |
| comments | 【可选】显示文章评论模块(默认 true) |
| toc | 【可选】显示文章TOC(默认为设置中toc的enable配置) |
| toc_number | 【可选】显示toc_number(默认为设置中toc的number配置) |
| auto_open | 【可选】是否自动打开TOC(默认为设置中toc的auto_open配置) |
| copyright | 【可选】显示文章版权模块(默认为设置中post_copyright的enable配置) |
| mathjax | 【可选】显示mathjax(当设置mathjax的per_page: false时,才需要配置,默认 false) |
| katex | 【可选】显示katex(当设置katex的per_page: false时,才需要配置,默认 false) |
| aplayer | 【可选】在需要的页面加载aplayer的js和css,请参考文章下面的音乐 配置 |
| highlight_shrink | 【可选】配置代码框是否展开(true/false)(默认为设置中highlight_shrink的配置) |
page#
hexo可以创建一个页面,比如后面我们需要创建分类页、标签页等
hexo new page <page name>新建的页面会存放在source下
draft#
hexo通过draft来创建一个草稿
hexo new draft <draft name>通过draft来创建的草稿文章,并不会真正发送到页面,而是可以通过hexo s --draft来进行查看,如果需要发表出来,则使用hexo p <filename>,<filename>为不包含md后缀的文章名称。
也可以手动将文件在source/_post和source/_draft中间移动。
Butterfly#
我们进入Hexo项目根目录(即/root/blog),通过git下载Butterfly主题
# 进入Hexo根目录
cd /root/blog

# 下载Butterfly主题
git clone https://github.com/jerryc127/hexo-theme-butterfly.git themes/butterflygit clone https://github.com/jerryc127/hexo-theme-butterfly.git themes/butterflygit clone https://github.com/jerryc127/hexo-theme-butterfly.git themes/butterflygit clone https://github.com/jerryc127/hexo-theme-butterfly.git themes/butterfly除了这个主题之外,我们还需要安装pug和stylus的渲染器,不然会在运行项目时报错
npm install hexo-renderer-pug hexo-renderer-stylus --save修改项目根目录下的_config.yml文件(站点配置文件),开启主题
/root/blog/_config.yml
# Extensions
## Plugins: https://hexo.io/plugins/
## Themes: https://hexo.io/themes/
theme: butterfly
为了后续修改方便,我们将主题文件中的_config.yml复制一份到/root/blog,并重新命名为_config.butterfly.yml
Hexo会自动合并_config.yml和_config.butterfly.yml中相同的配置信息,如果有重复的,会使用后者的配置
cp -a /root/blog/themes/butterfly/_config.yml /root/blog/_config.butterfly.yml接下来我们运行Hexo就可以看到Butterfly生成的主题了

基础设置#
以下配置修改或添加后如果未生效,请将Hexo进行重启查看
标题#
文件:/root/blog/_config.yml
# Site模块
- title: Hexo
+ title: XuY
副标题#
文件:/root/blog/_config.butterfly.yml
# subtitle模块
subtitle:
  enable: true
  # Typewriter Effect (打字效果)
  effect: true
  # Customize typed.js (配置typed.js)
  # https://github.com/mattboldt/typed.js/#customization
  typed_option:
  # source 調用第三方服務
  # source: false 關閉調用
  # source: 1  調用一言網的一句話(簡體) https://hitokoto.cn/
  # source: 2  調用一句網(簡體) https://yijuzhan.com/
  # source: 3  調用今日詩詞(簡體) https://www.jinrishici.com/
  # subtitle 會先顯示 source , 再顯示 sub 的內容
  source: false
  # 如果關閉打字效果,subtitle 只會顯示 sub 的第一行文字
  sub:
- 今日事今日毕需要注意的是
如果有英文逗号’,‘,使用转义字元
, 如果有英文双引号’”‘,使用转义字元" 开头不允许转义字元,如需要,请把整个句子用双引号包住; 如果关闭打字效果,subtitle只会显示sub的第一行文字

副标题字体大小颜色#
文件:/root/blog/themes/butterfly/source/css/_layout/head.styl
  #site-subtitle
    color: var(--light-grey)
    font-size: 1.15em

    +minWidth768()
font-size: 1.72em语言#
文件:/root/blog/_config.yml
# Site模块
- language: en
+ language: zh-CN
作者#
文件:/root/blog/_config.yml
# Site模块
- author: John Doe
+ author: XuY
导航栏#
文件:/root/blog/_config.butterfly.yml
# Menu模块
# 默认是注释的,需要打开注释并,将':'前的应为修改为中文
- menu:
-   # Home: / || fas fa-home
-   # Archives: /archives/ || fas fa-archive
-   # Tags: /tags/ || fas fa-tags
-   # Categories: /categories/ || fas fa-folder-open
-   # List||fas fa-list:
-   #   Music: /music/ || fas fa-music
-   #   Movie: /movies/ || fas fa-video
-   # Link: /link/ || fas fa-link
-   # About: /about/ || fas fa-heart
---------------
+ menu:
+    首页: / || fas fa-home
+    归档: /archives/ || fas fa-archive
+    标签: /tags/ || fas fa-tags
+    分类: /categories/ || fas fa-folder-open
+    列表||fas fa-list:
+      音乐: /music/ || fas fa-music
+      电影: /movies/ || fas fa-video
+    链接: /link/ || fas fa-link
+    关于: /about/ || fas fa-heart
导航子页面#
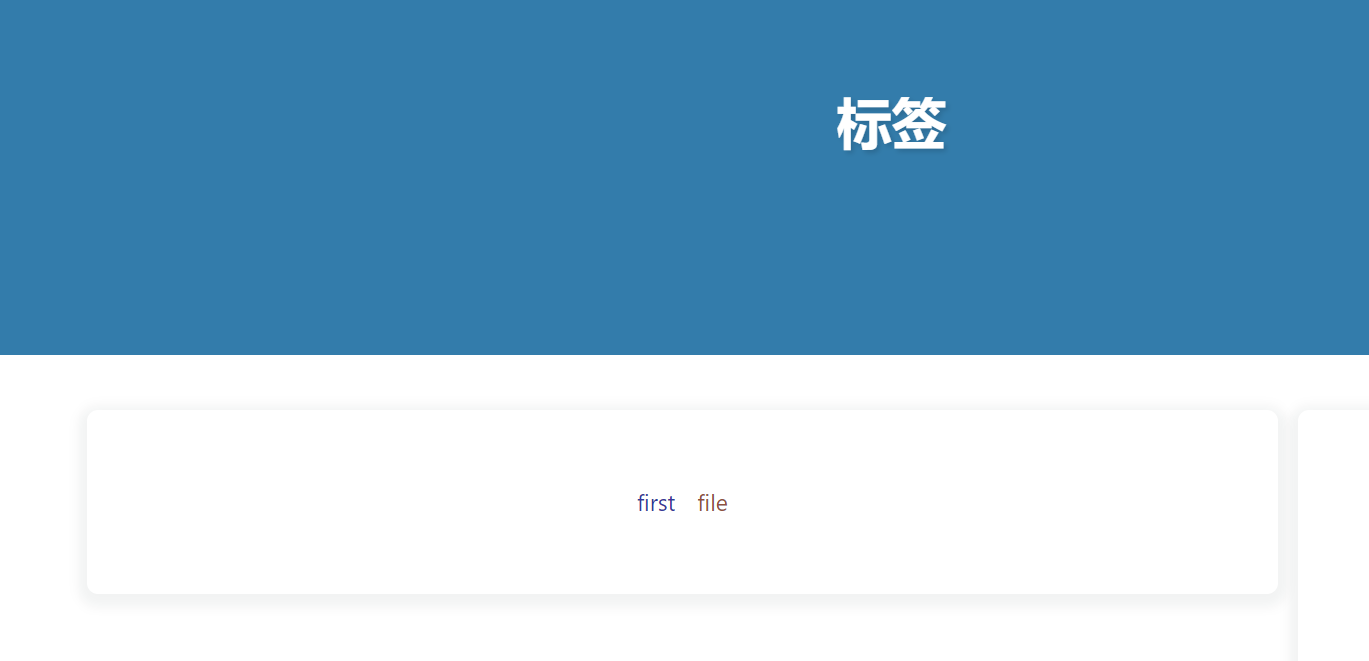
标签#
使用hexo命令创建标签页面
hexo new page tags 创建之后修改标签md中文件类型
文件:/root/blog/source/tags/index.md
---
title: 标签
date: 2023-07-20 09:09:06
type: tags # 增加类型(注释需删除
---修改之后,可以在之后的文章中增加tags标签
文件:/root/blog/source/_posts/first-file.md
---
title: first-file
date: 2023-07-19 15:40:05
tags:
    - first
    - file
---
分类#
使用hexo命令创建分类页面
hexo new page categories 创建之后修改分类md中文件类型
文件:/root/blog/source/tags/index.md
---
title: 分类
date: 2023-07-20 09:16:13
type: categories
---修改之后,可以在之后的文章中增加categories标签
文件:/root/blog/source/_posts/first-file.md
---
title: first-file
date: 2023-07-19 15:40:05
tags:
- first
- file
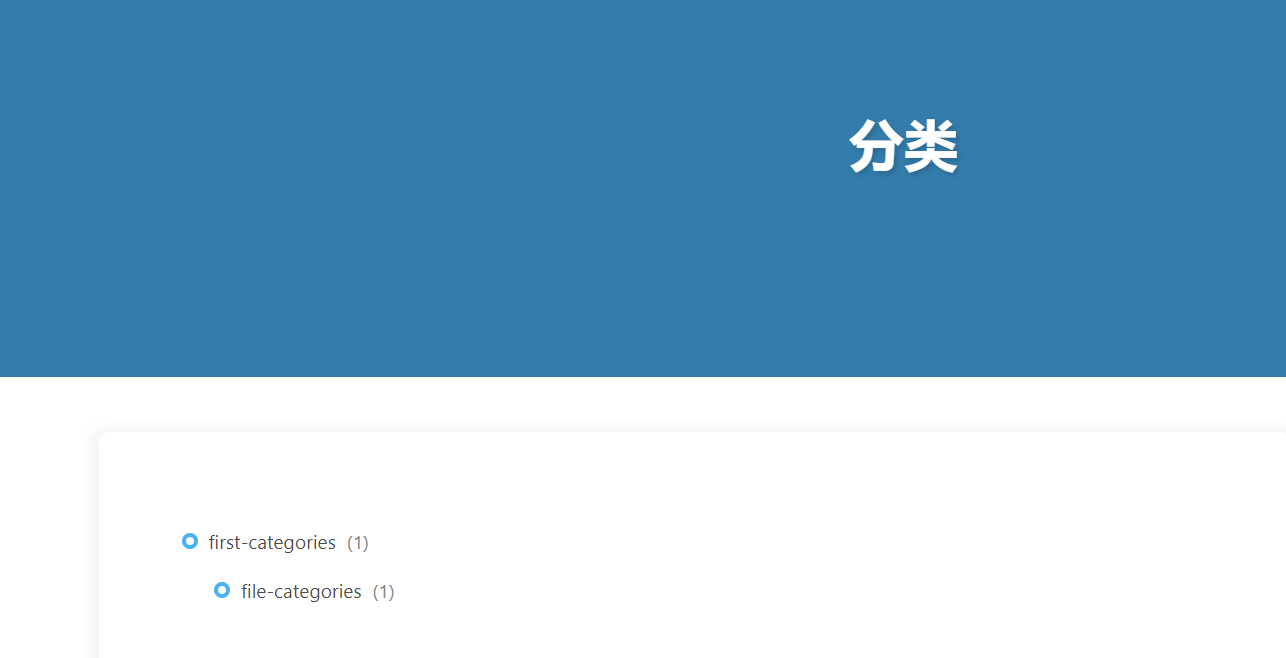
categories:
- first-categories
- file-categories
---
链接#
使用hexo命令创建链接页面,链接页面一般用于友链
hexo new page link创建之后修改链接md中文件类型
文件:/root/blog/source/link/index.md
---
title: 链接
date: 2023-07-20 09:20:41
type: link
---创建友链内容页之后,如果在里面添加内容呢?,我们需要新建一个目录,并在里面新建一个链接页,然后添加内容,如下所示
文件:/root/blog/source/_data/link.yml
# 创建_data目录
mkdir /root/blog/source/_data

# 创建友链内容页
vim /root/blog/source/_data/link.yml

# 添加内容,这里只是一个dome
class:
  class_name: 友情链接
  link_list:
    1:
      name: 姓名
      link: 链接
      avatar: 图片
      descr: 签名
    2:
      name: 姓名
      link: 链接
      avatar: 图片
      descr: 签名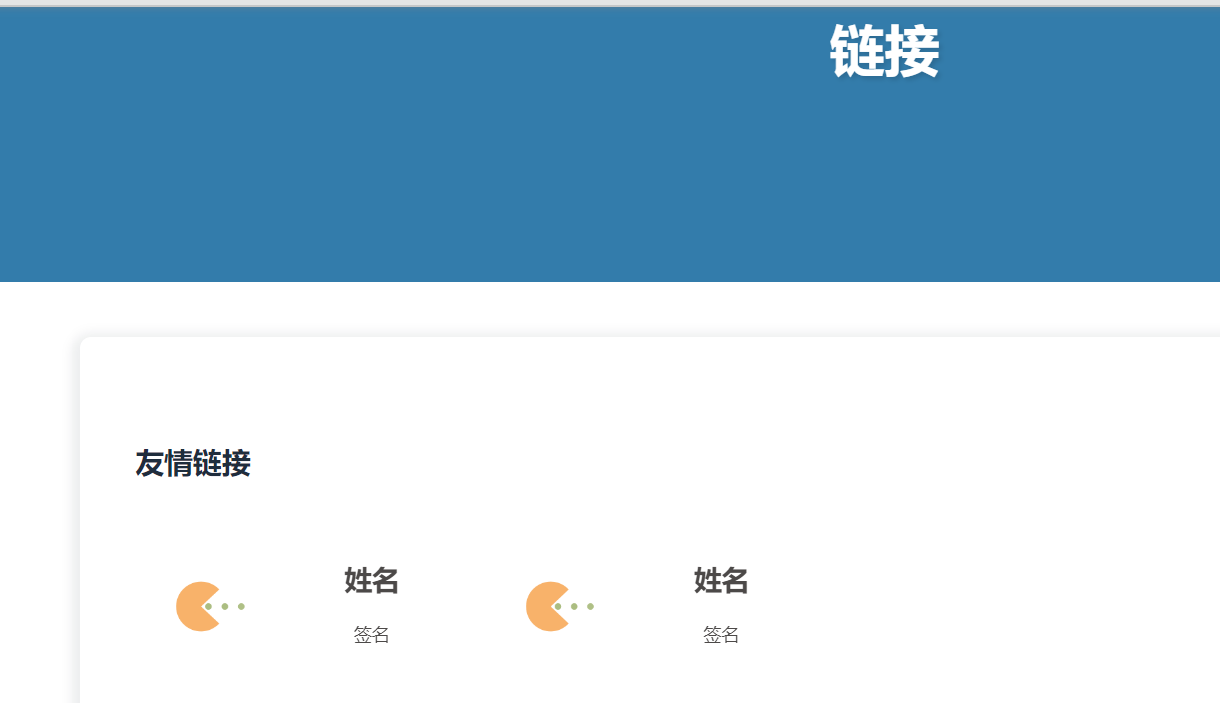
列表#
略
关于#
使用hexo命令创建关于页面
hexo new page about 创建之后修改关于md中文件类型
文件:/root/blog/source/about/index.md
---
title: 关于
date: 2023-07-20 09:32:25
type: myself
---
This is a Dome website built using Hexo+Butterfly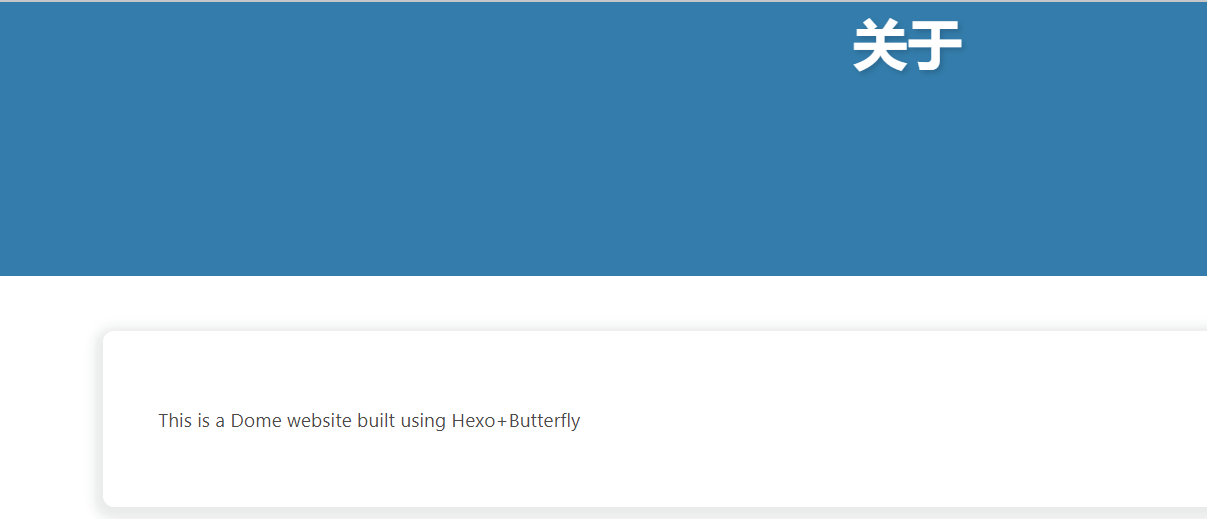
图像类#
网站图标#
文件:/root/blog/_config.butterfly.yml 图片:/root/blog/themes/butterfly/source/img/website.png (图片自己找,图片名称随意,但是要和文件中保持一致)
# Favicon模块
- favicon: /img/favicon.png
+ favicon: /img/website.png
头像#
文件:/root/blog/_config.butterfly.yml 图片:/root/blog/themes/butterfly/source/img/avatar.png
- avatar:
-   img: https://i.loli.net/2021/02/24/5O1day2nriDzjSu.png
-   effect: false
+ avatar:
+   img: /img/avatar.png
+   effect: false
主页封面#
文件:/root/blog/_config.butterfly.yml 图片:/root/blog/themes/butterfly/source/img/index.jpg
- index_img:
+ index_img: /img/index.jpg 
顶部图#
归档
文件:/root/blog/_config.butterfly.yml 图片:/root/blog/themes/butterfly/source/img/archives.jpg
archive_img: /img/archives.jpg其余则在自己的index.md中配置
标签
文件:/root/blog/source/tags/index.md 图片:/root/blog/themes/butterfly/source/img/tags.png
---
title: 标签
date: 2023-07-20 09:09:06
type: tags
top_img: /img/tags.png
---分类
文件:/root/blog/source/categories/index.md 图片:/root/blog/themes/butterfly/source/img/categories.jpg
---
title: 分类
date: 2023-07-20 09:16:13
type: categories
top_img: /img/categories.jpg
---链接
文件:/root/blog/source/link/index.md 图片:/root/blog/themes/butterfly/source/img/link.jpg
---
title: 链接
date: 2023-07-20 09:20:41
type: link
top_img: /img/link.jpg
---关于
文件:/root/blog/source/about/index.md 图片:/root/blog/themes/butterfly/source/img/about.jpg
---
title: 关于
date: 2023-07-20 09:32:25
type: myself
top_img: /img/about.jpg
---
This is a Dome website built using Hexo+Butterfly
markdown文件中除了这几个页面,其余普通文章也可以通过top_img来设置顶部图,如果没有的话,则使用_config.butterfly.yml中的default_top_img,而且在_config.butterfly.yml中还有archive_img、tag_img、tag_per_img、category_img、category_per_img,不过这几个选项,没用到,如果感兴趣,可以自行查询使用方式。
文章封面#
文章封面有两种设置方式,一种是在_config.butterfly.yml中设置,另一种则是在文章内的front-matter中设置
1、_config.butterfly.yml中设置
文件:/root/blog/_config.butterfly.yml
cover:
  # display the cover or not (是否顯示文章封面)
  index_enable: true
  aside_enable: true
  archives_enable: true
  # the position of cover in home page (封面顯示的位置)
  # left/right/both
  position: both
  # When cover is not set, the default cover is displayed (當沒有設置cover時,默認的封面顯示)
  default_cover:
  	# 在此处指定图片位置,可以设置多个,文章封面则使用以下图片进行随机分配
# - https://i.loli.net/2020/05/01/gkihqEjXxJ5UZ1C.jpg2、在文章的front-matter中设置
文件:/root/blog/source/_posts/*.md
---
title: second-file
date: 2023-07-19 15:40:18
cover: /img/second-file.jpeg
tags:
---
字体#
文件: — /root/blog/source/css/font.css — /root/blog/_config.butterfly.yml
字体:/root/blog/source/css/intelone.ttf
在新增的css文件(/root/blog/source/css/font.css)中新增以下内容
@font-face {
  /* 为载入的字体取名字(随意) */
  font-family: 'IntelOne';
  /* 字体文件地址(相对或者绝对路径都可以) */
  src: url('./intelone.ttf') format("truetype");
  /* 定义加粗样式(加粗多少) */
  font-weight: normal;
  /* 定义字体样式(斜体/非斜体) */
  font-style: normal;
  /* 定义显示样式 */
  font-display: block;
}在_config.butterfly.yml中修改以下内容
font:
  # 全局字体大小
  global-font-size:
  # 代码快字体大小(默认继承global-font-size)
  code-font-size: '15px'
  # 全局字体
  font-family:
  # 代码快字体
  code-font-family: "IntelOne"

# 网站首页左上角以及中间标题字体(没修改)
blog_title_font:
  font_link:
  font-family: